How to Make a Pencil Brush in Photoshop

Step 1
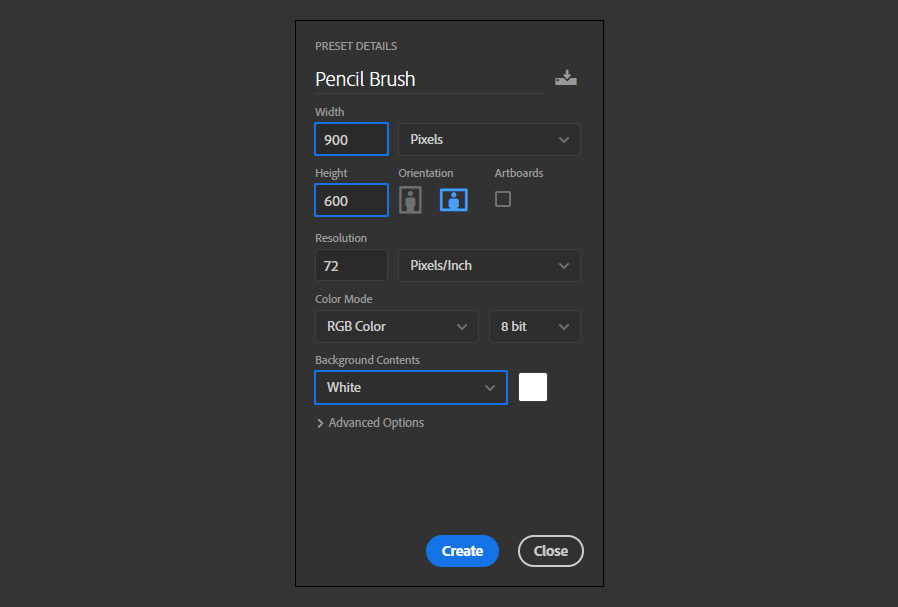
Open Photoshop and make a new file at any size you want. In this case, i will make mine at 900 x 600 px.
Step 2
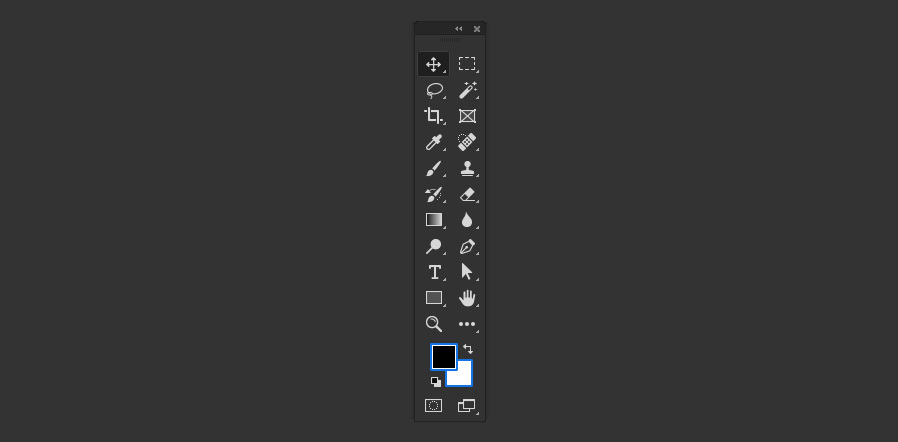
Press "D" on your keyboard to reset the Foreground and Background colors.
Step 3
Select the Brush Tool (B) and go to Window > Brush Settings.
Step 4
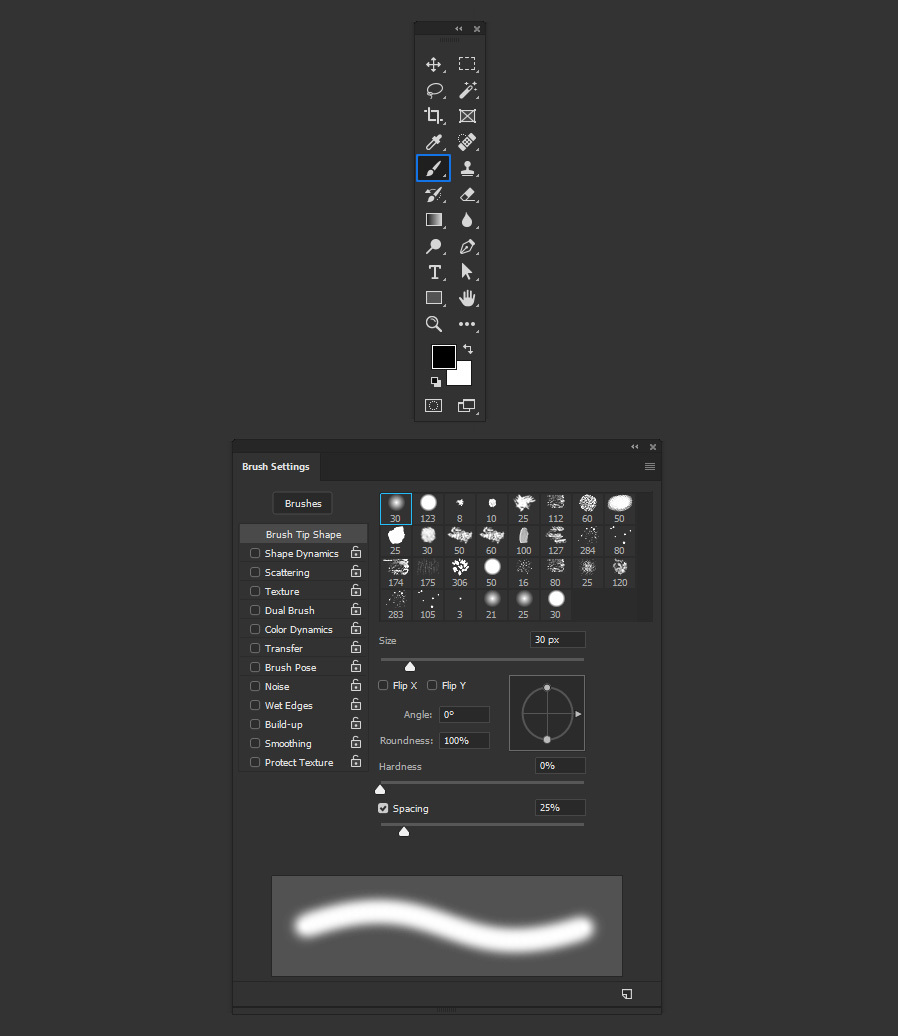
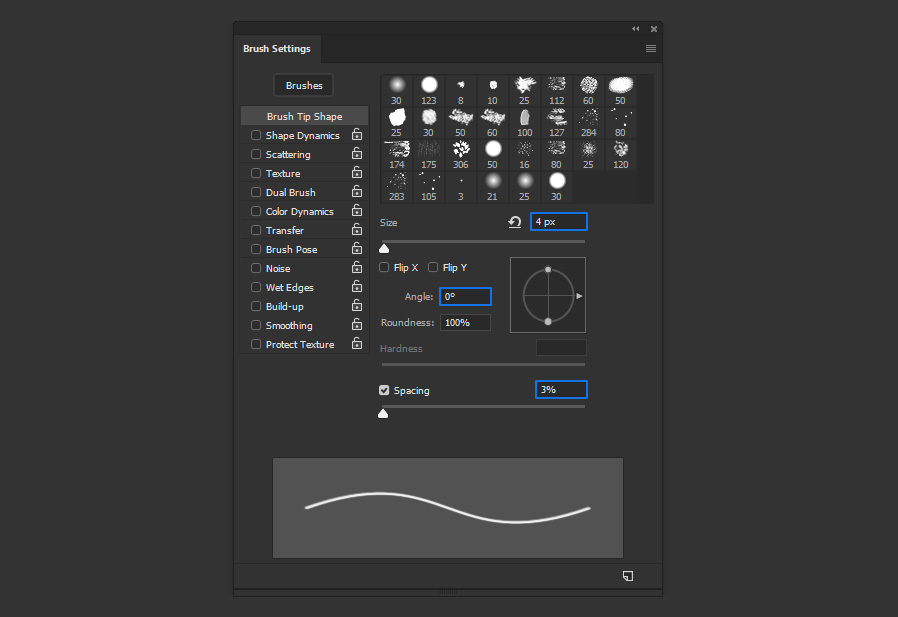
In the Brush Settings window, select the "Chalk 2" brush.
Step 5
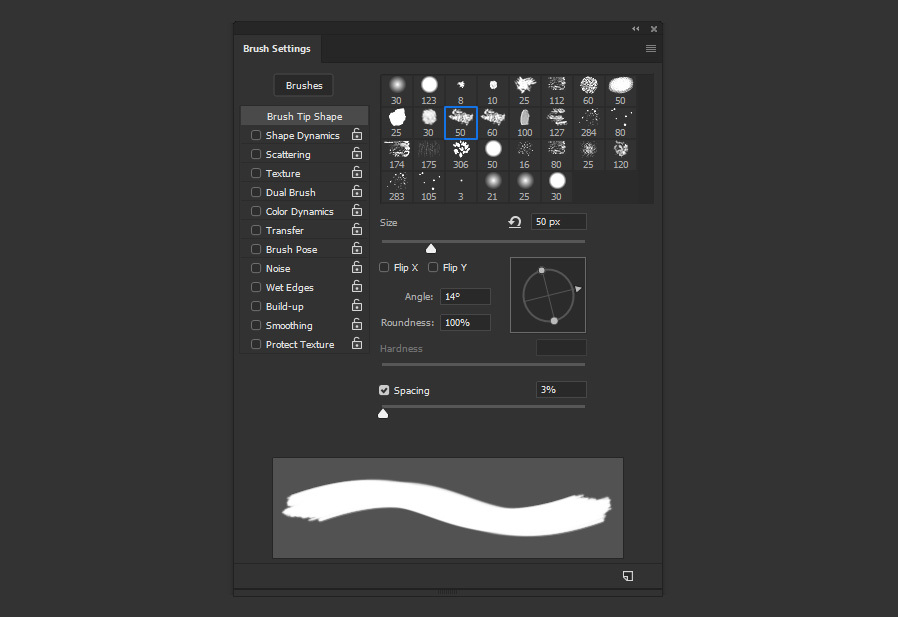
In the Brush Tip Shape panel, apply the following settings.
Step 6
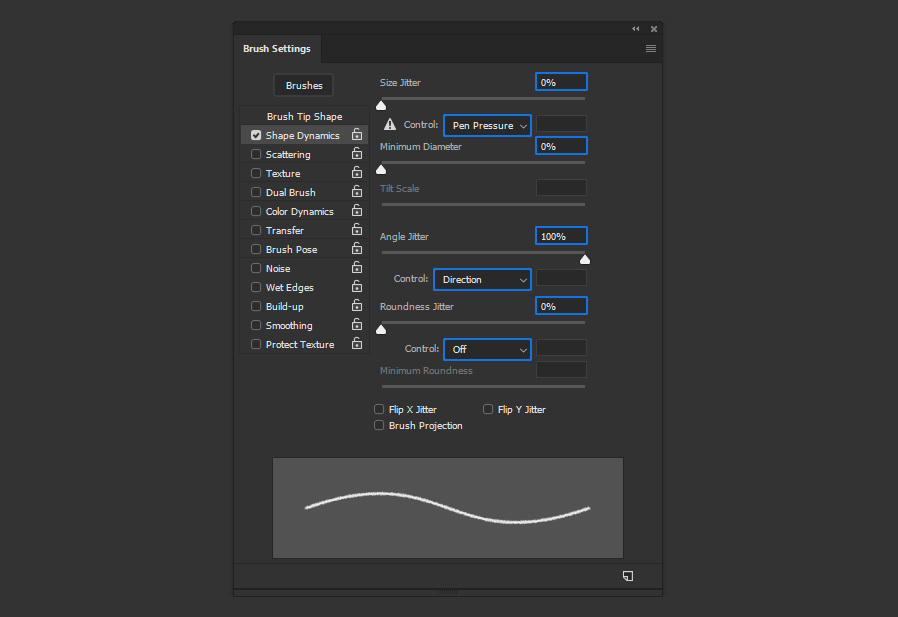
Next, select Shape Dynamics and apply the following settings.
Step 7
Select the Scattering option and apply the following settings.

Step 8
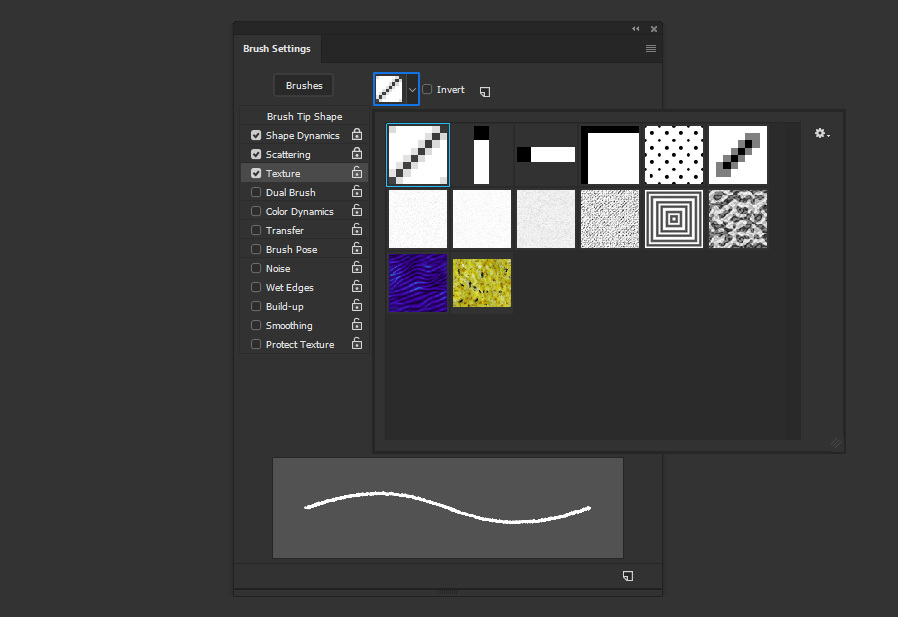
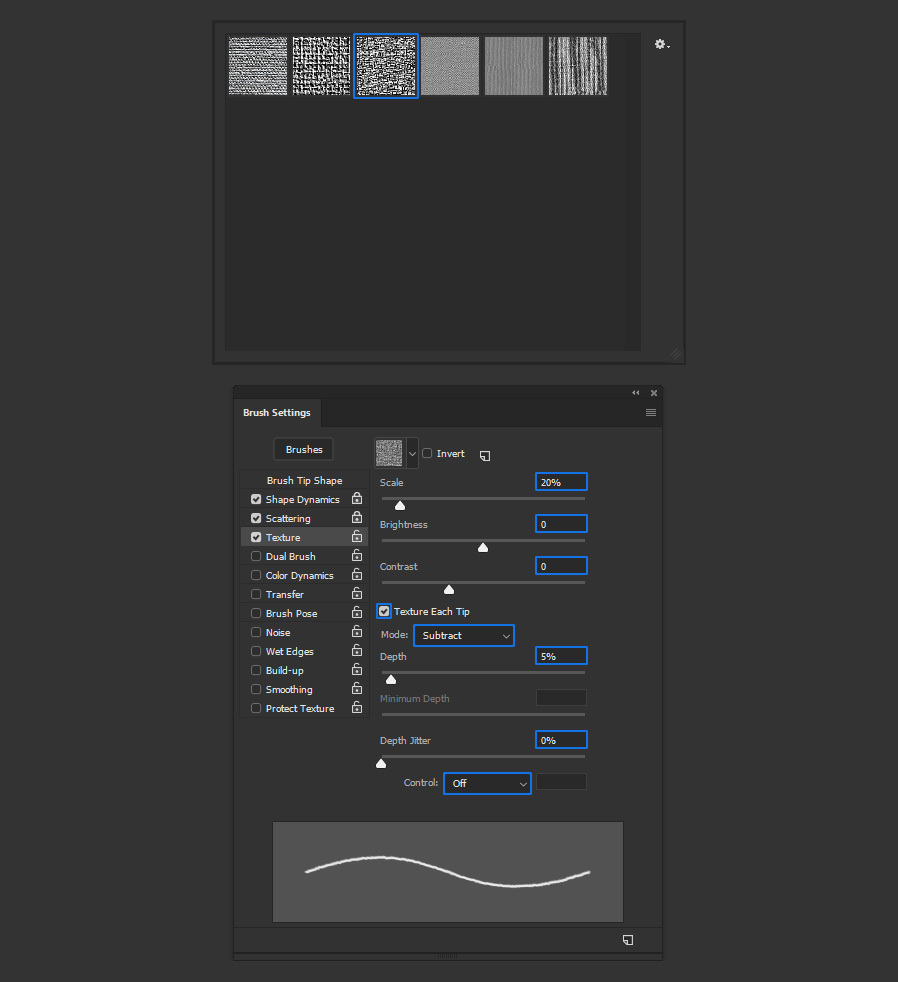
Select the Texture option and click on the texture thumbnail to display the patterns thumbnails.
Step 9
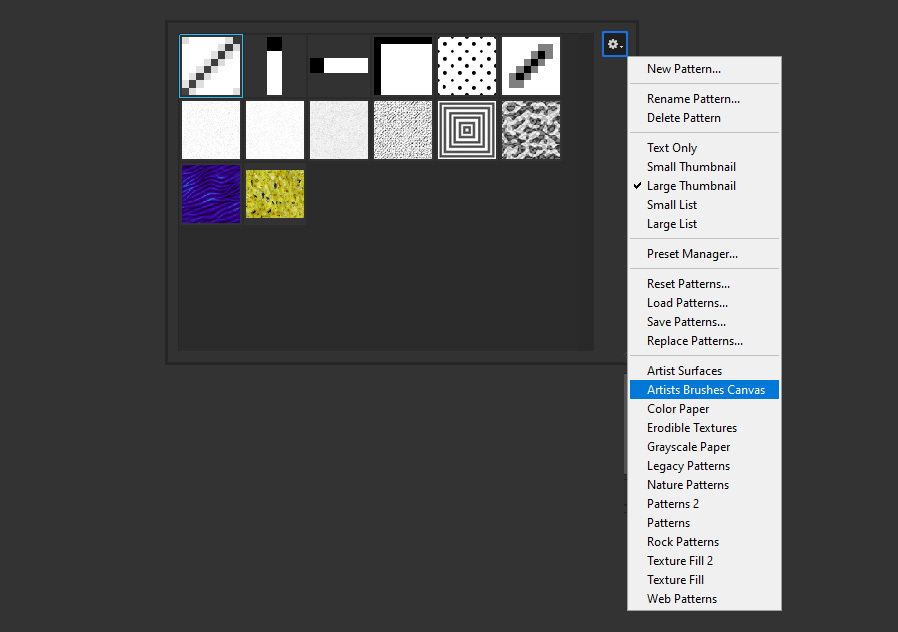
Click on the Gear icon and from the dropdown menu select "Artist Brushes Canvas".
Step 10
Select the "Jute" texture and apply the following settings in the Texture panel.
Step 11
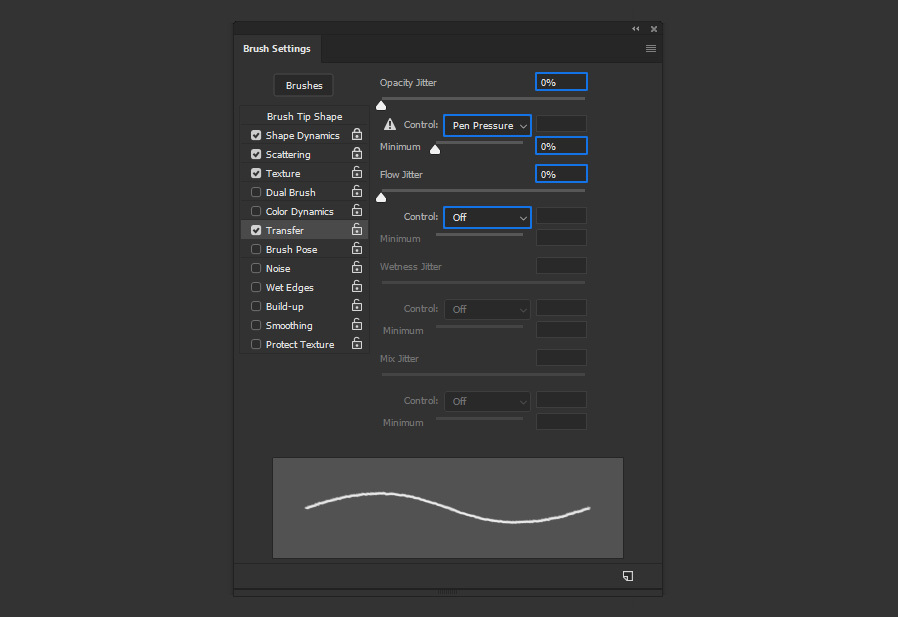
Next, select the Transfer option and apply the following settings.
Step 12
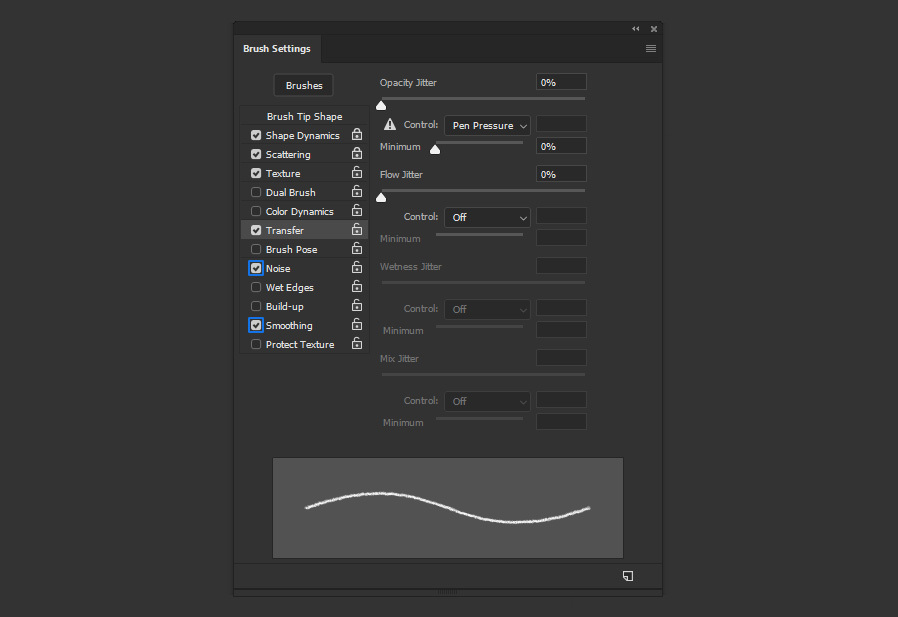
Lastly, check the Noise and Smoothing options.
Step 13
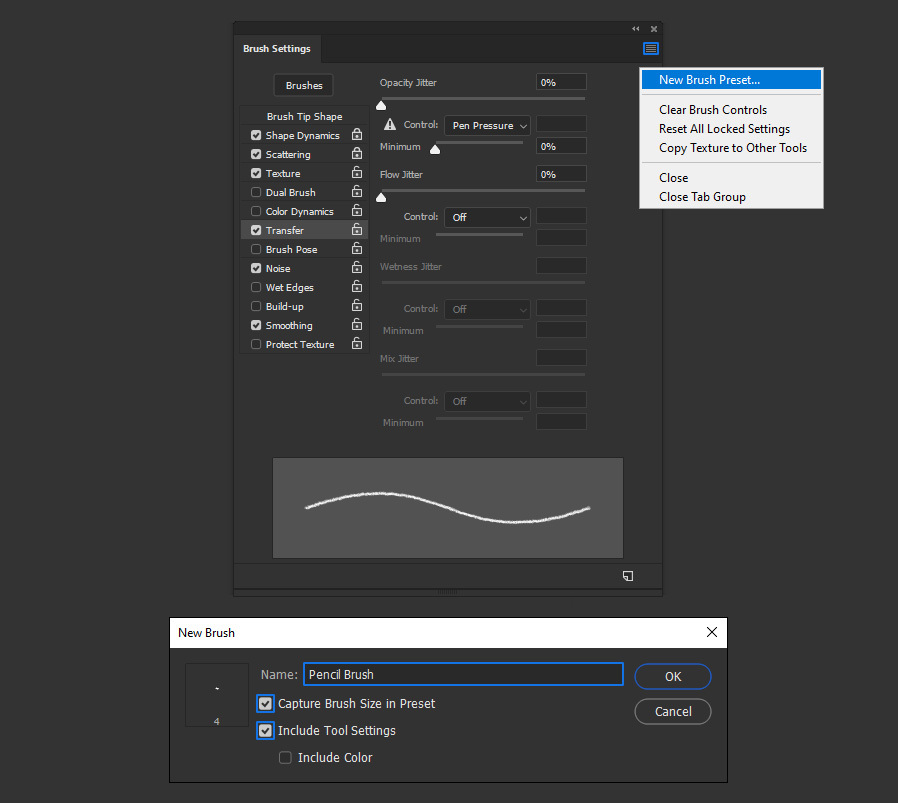
Click on the Brush Setting window menu, and from the dropdown menu select "New Brush Preset". Give the brush a name and click OK.
Step 14
With the brush ready select the Brush Tool (B) and pick the new "Pencil Brush" from the Brush Preset Picker in the top toolbar.
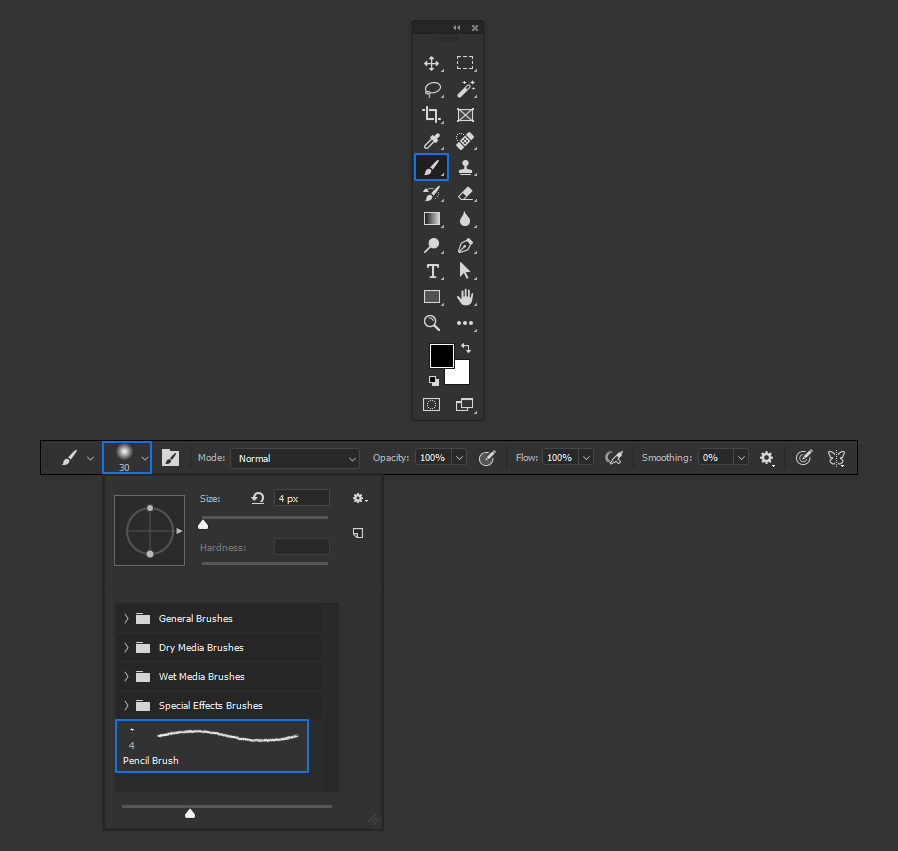
Step 15
You can now set any Foreground color you want and start drawing with your new Pencil Brush.
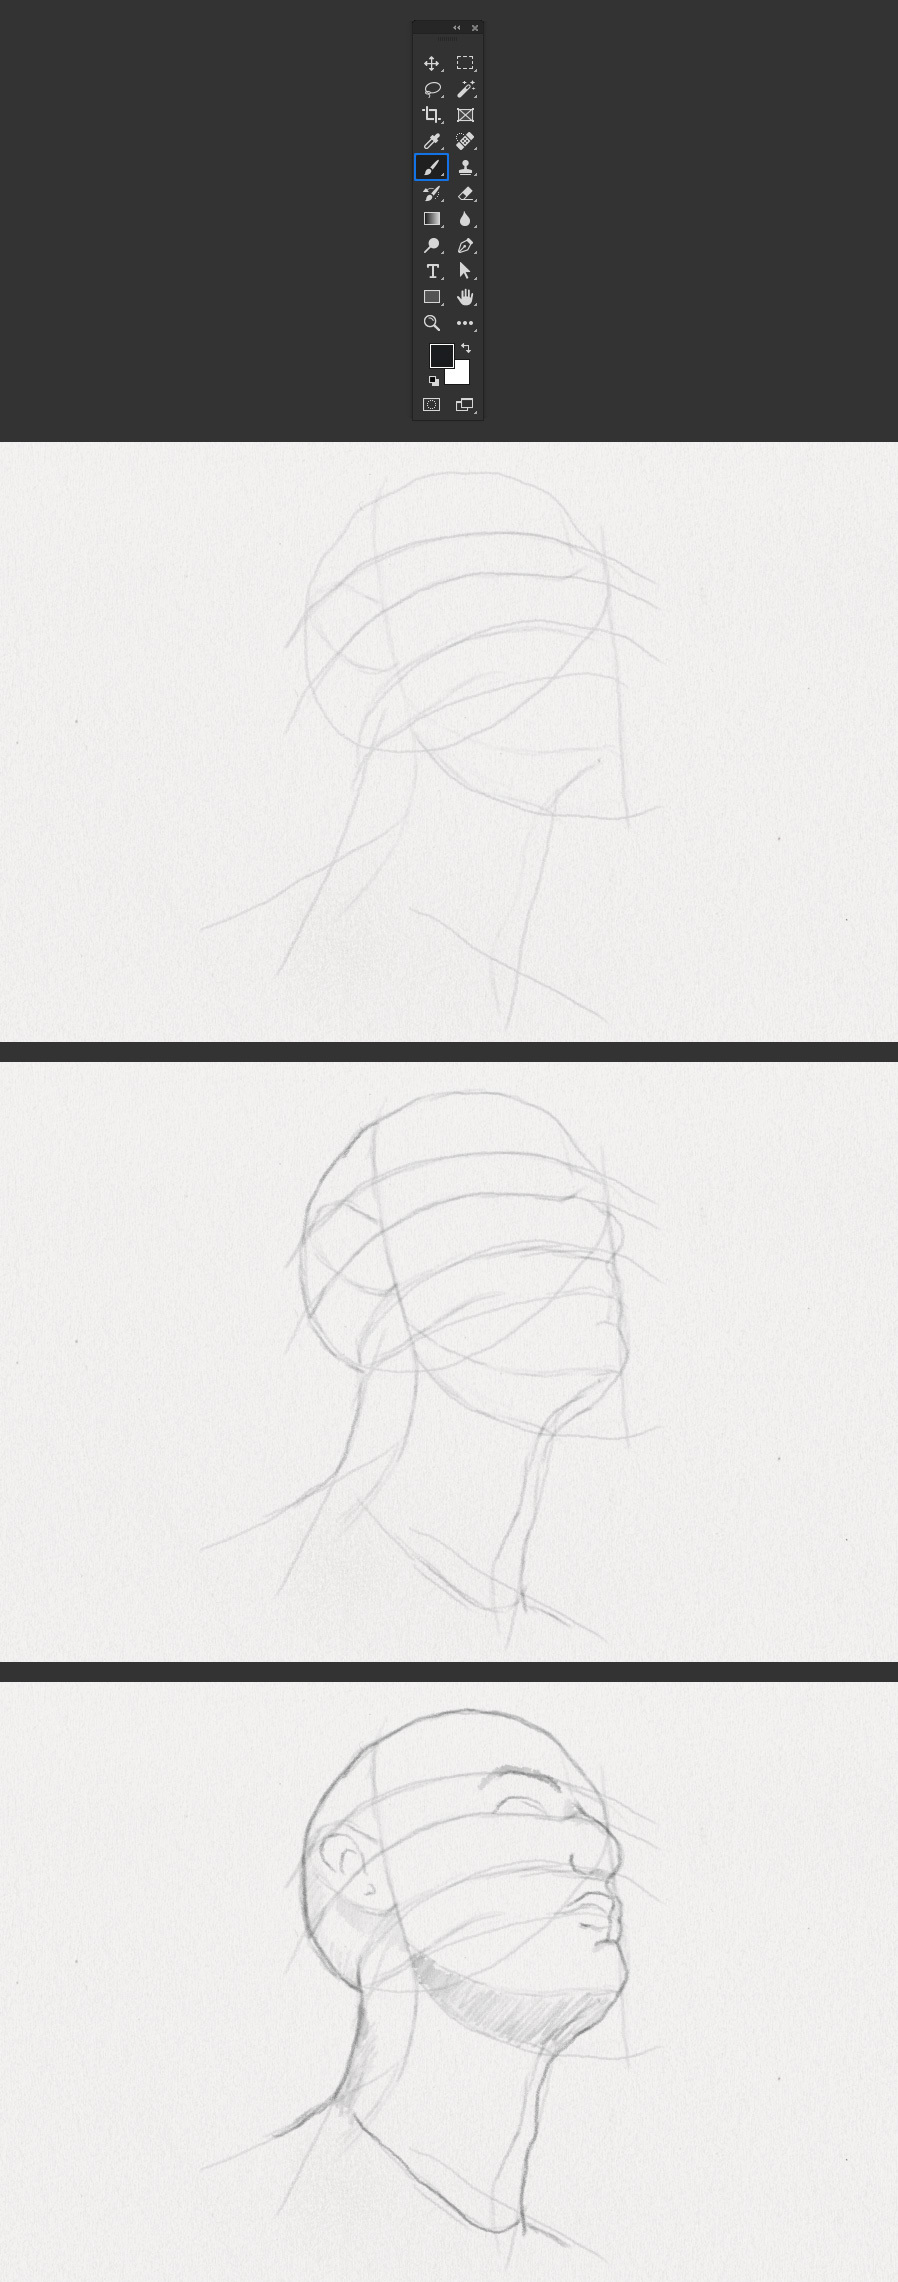
A Final Tip:
When making your sketches, draw light strokes one over another with the stylus and if needed increase the pressure to get a more real appearance.
Want More?
Get curated design picks delivered straight to your inbox