How to Add Easy Fog Overlays to Any Image

But before we start, go ahead and download the following assets:
Method 1
Step 1
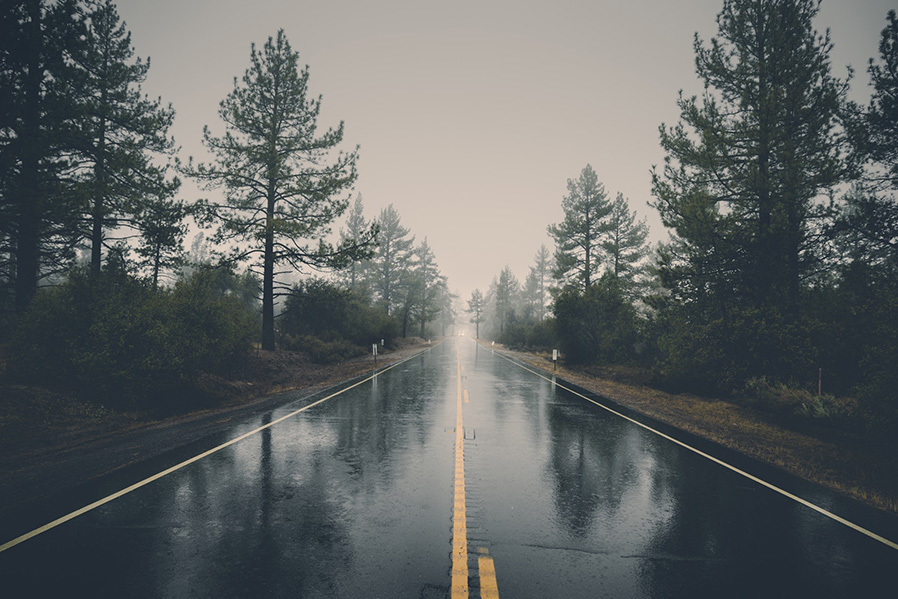
Open your image in Photoshop.
Step 2
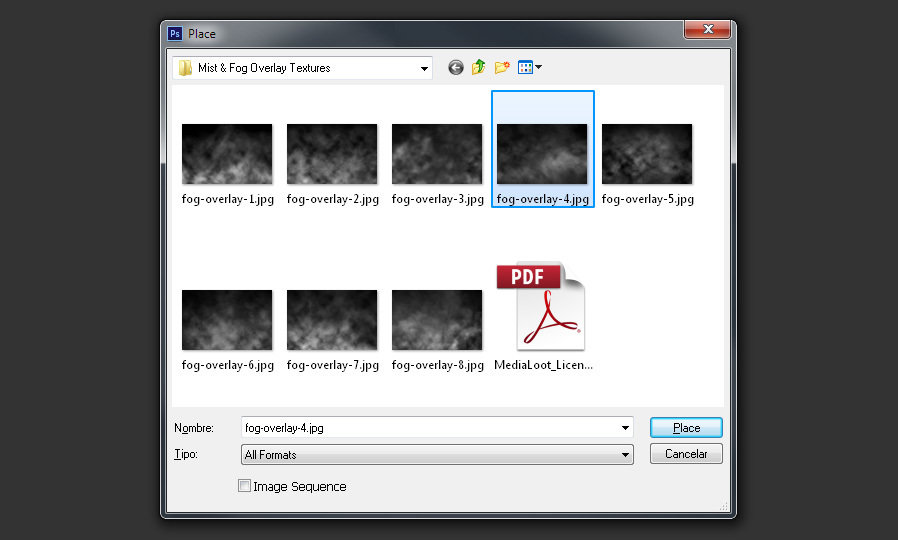
Go to File > Place. Locate the fog overlay texture you want to use and click on Load. In this case, I will use the “Fog Overlay 4”.
Step 3
Resize the overlay texture to fit your image and press the Enter key on your keyboard to commit the transformation.

Step 4
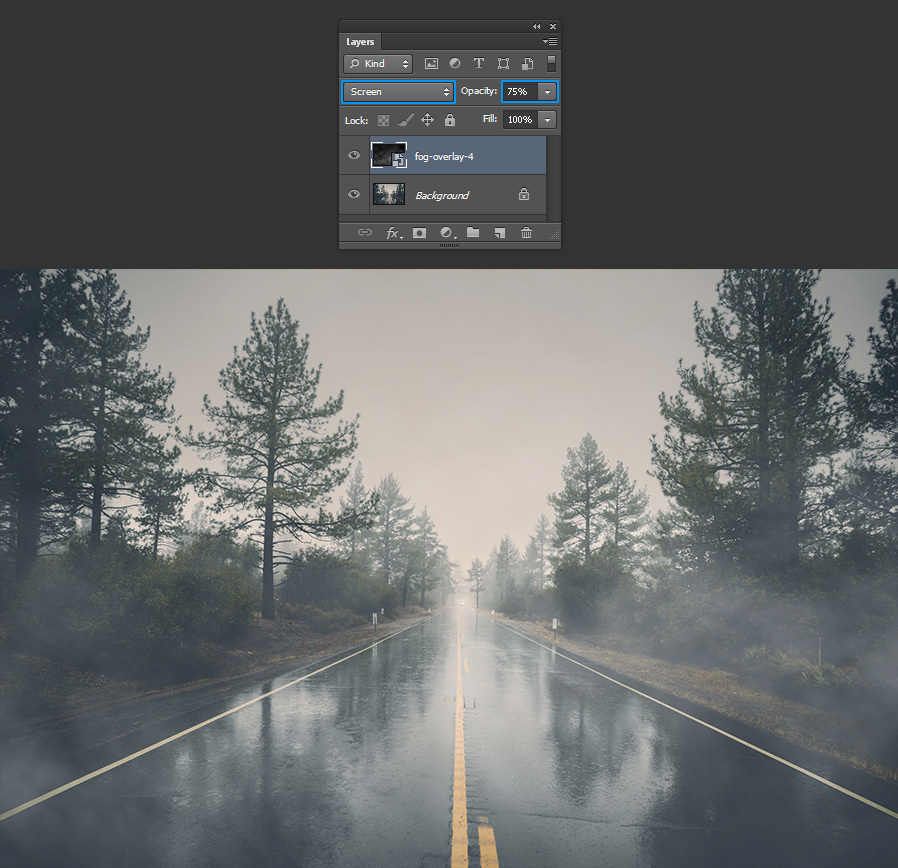
In the Layers Panel, set the blend mode of the fog texture to “Screen” and decrease the Opacity to 75%.
Step 5
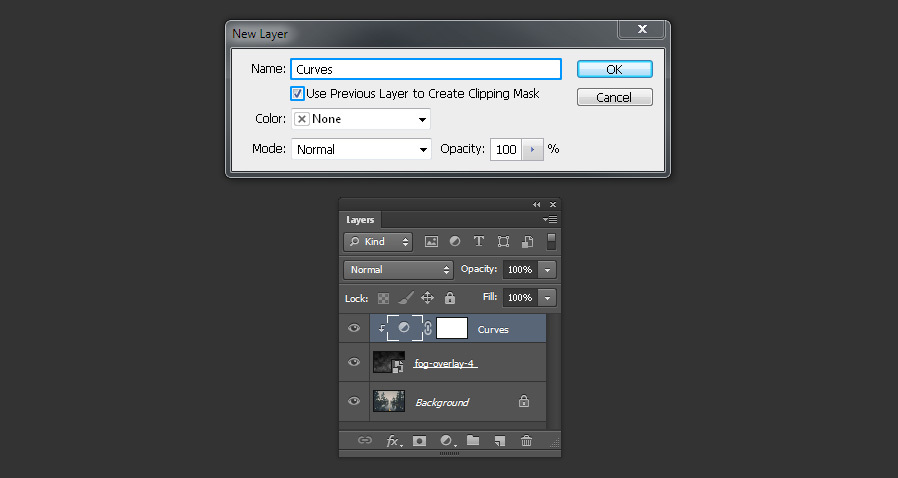
Go to Layer > New Adjustment Layer > Curves. Be sure to check the “Use Previous Layer to Create Clipping Mask”, name this layer as “Curves” and click OK.
Step 6
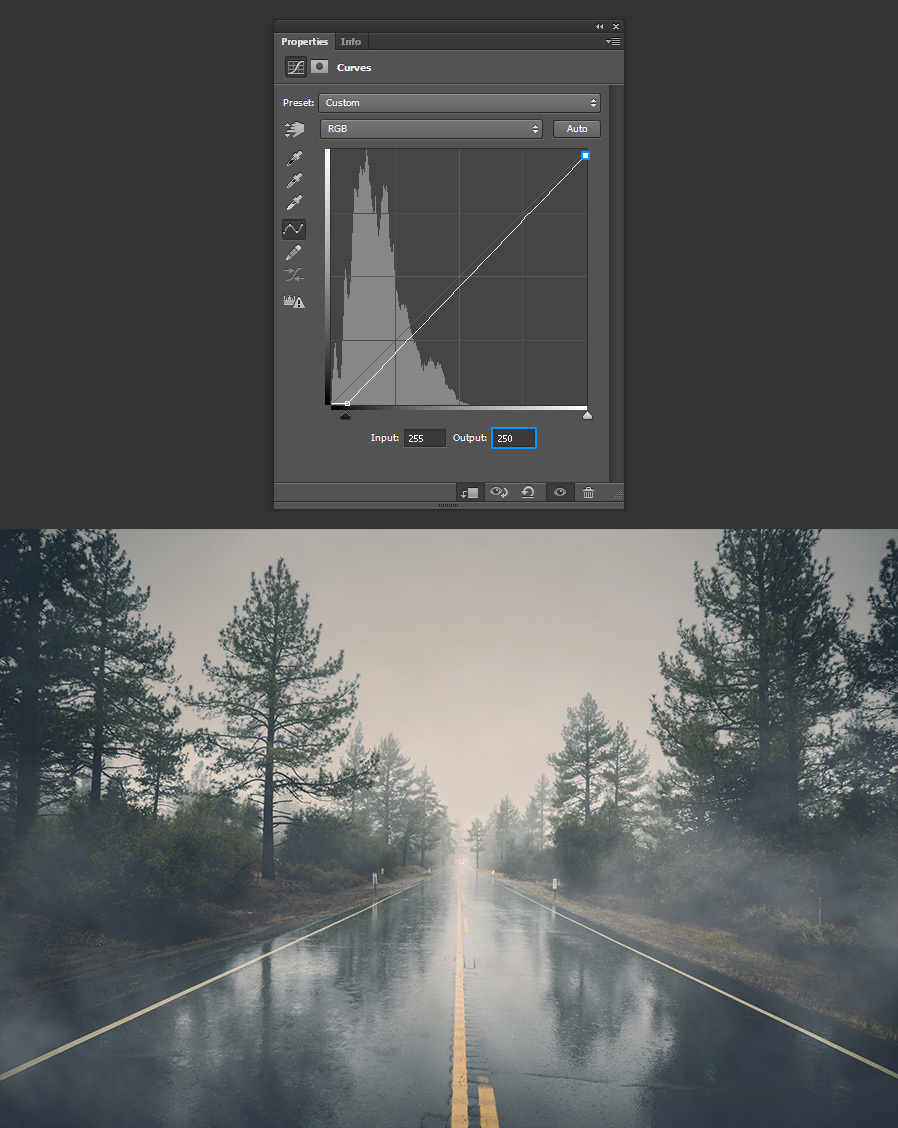
In the Curves Properties Panel, click on the first anchor point and set the Input value to 15.

Step 7
Next, click on the second anchor point and set the Output value to 250.
Step 8
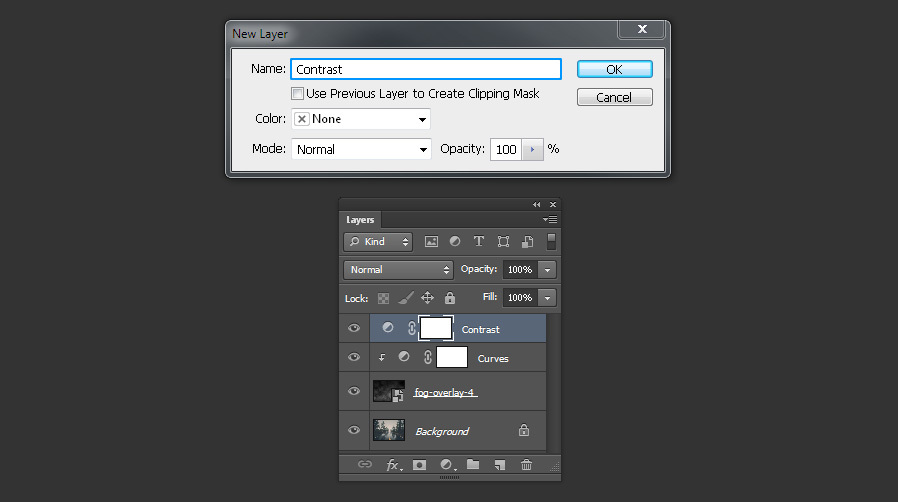
Go to Layer > New Adjustment Layer > Brightness/Contrast. Name this layer as “Contrast” and click OK.
Step 9
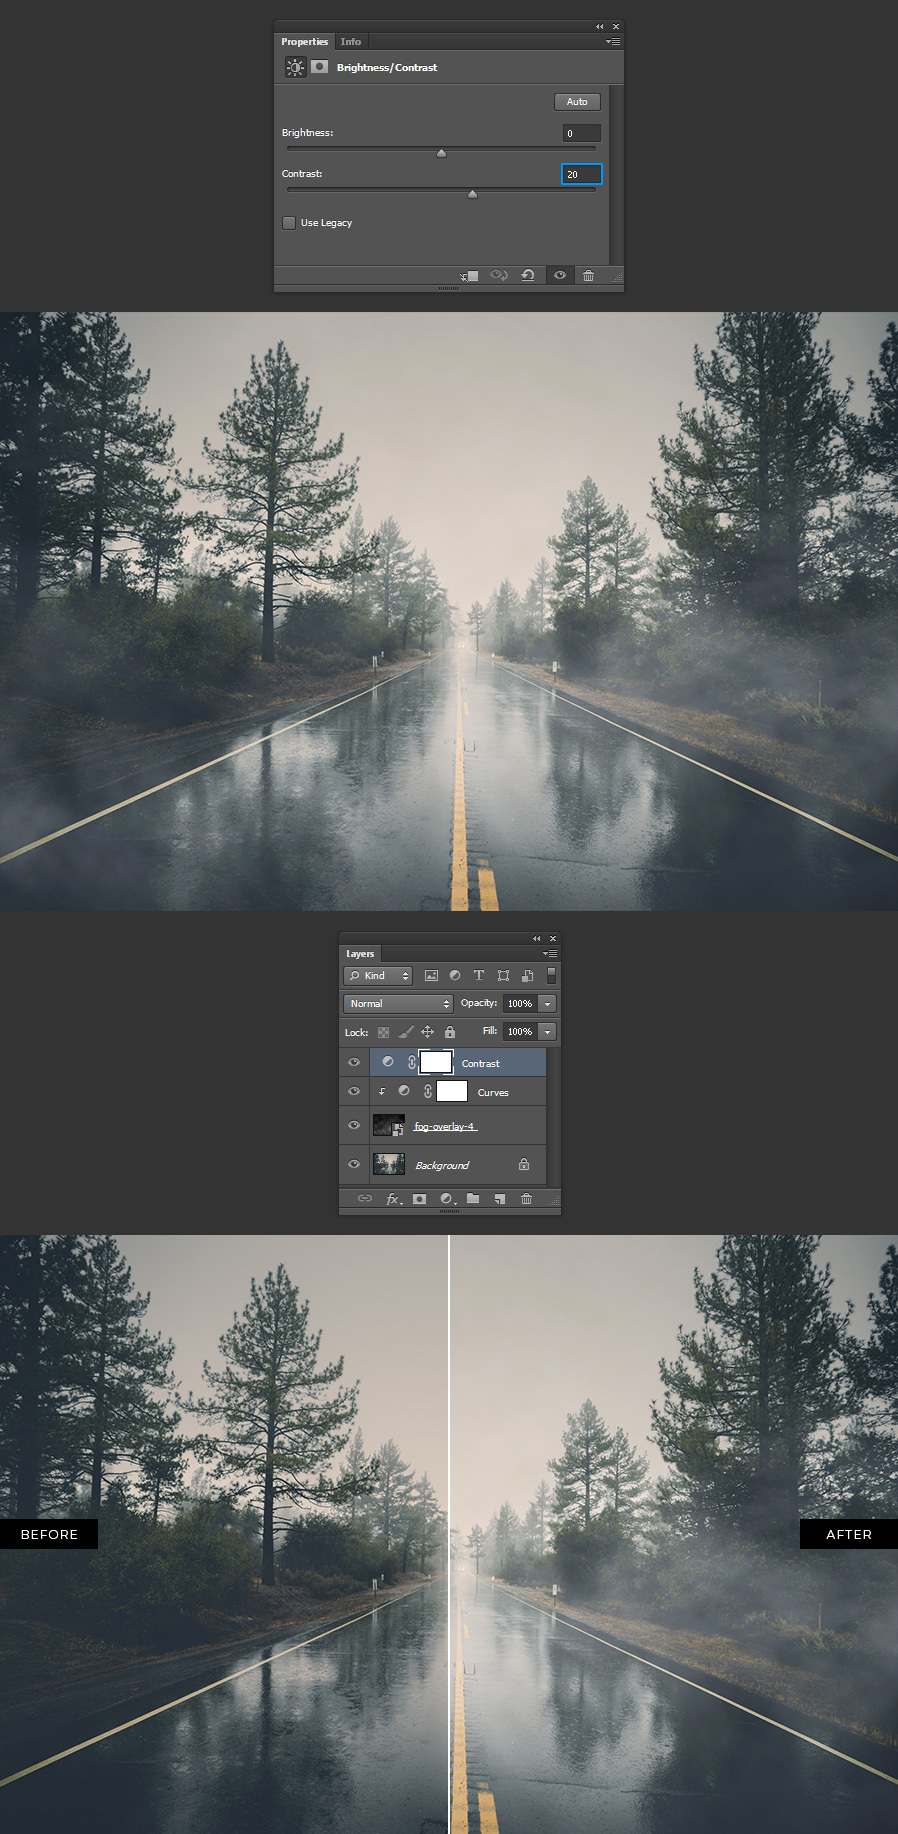
Lastly, in the Brightness/Contrast Properties Panel, set the Contrast to 20.
Method 2
Step 1
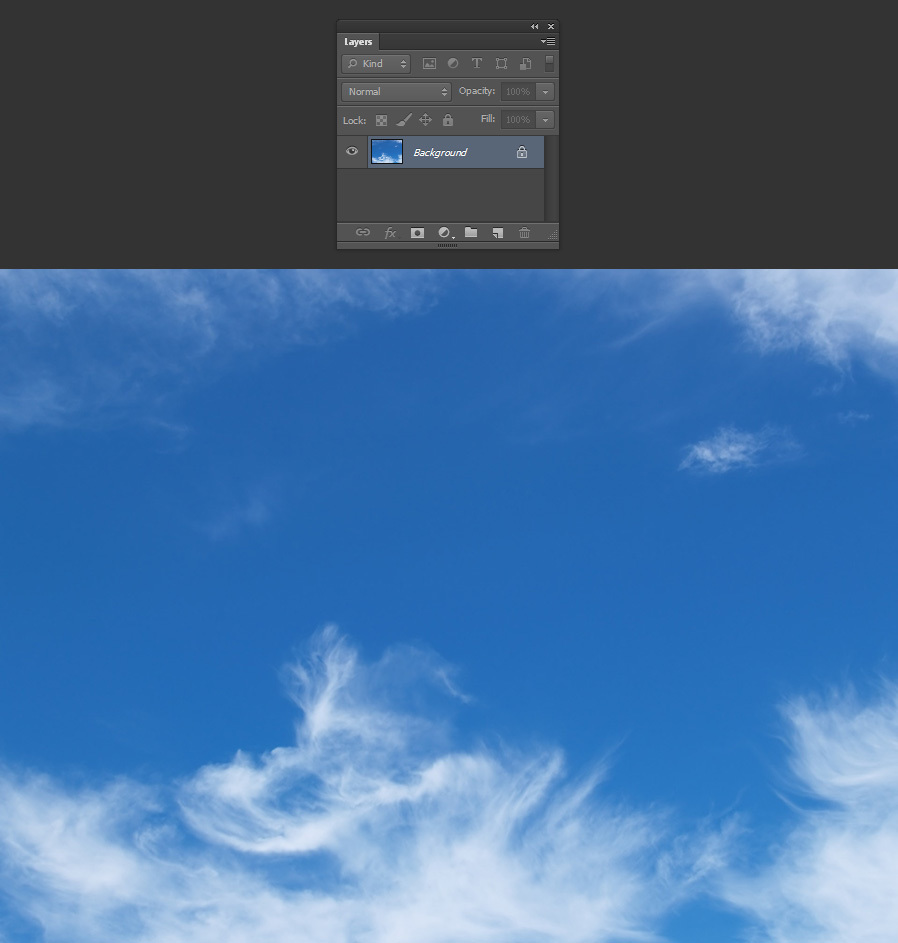
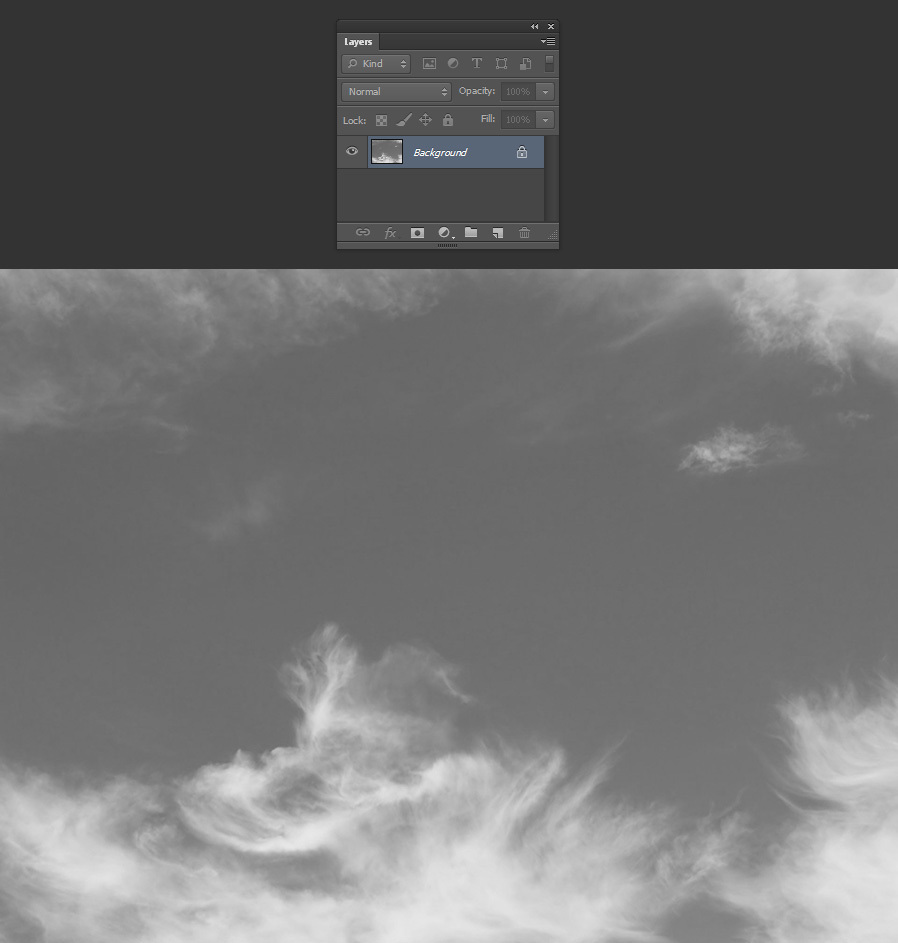
Open the cloudy sky image in Photoshop.
Step 2
Go to Image > Adjustments > Desaturate.
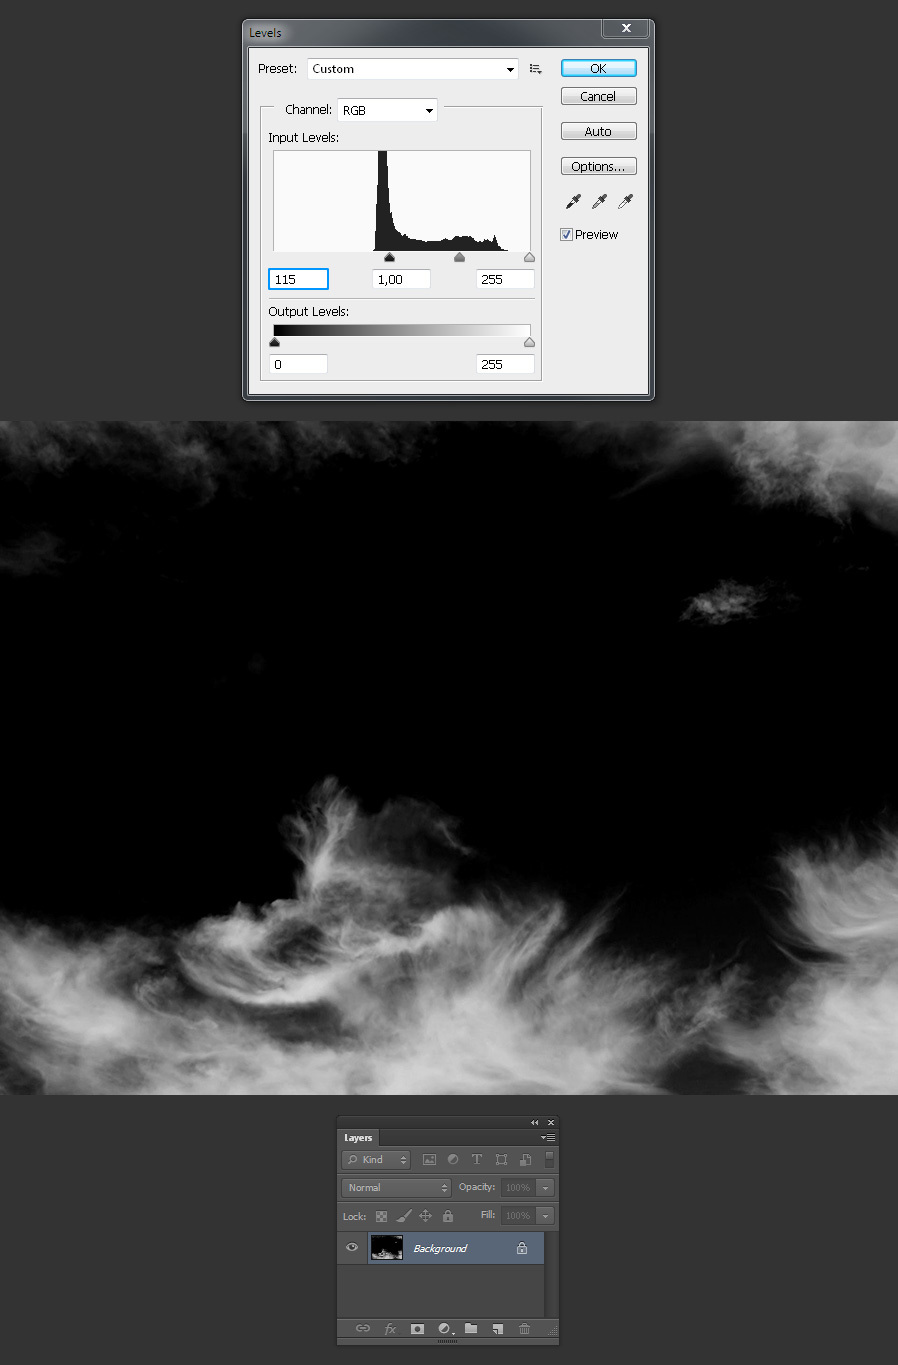
Step 3
Go to Image > Adjustments > Levels. In the Levels Properties Panel set the Shadow Input Level to 115 and click OK.
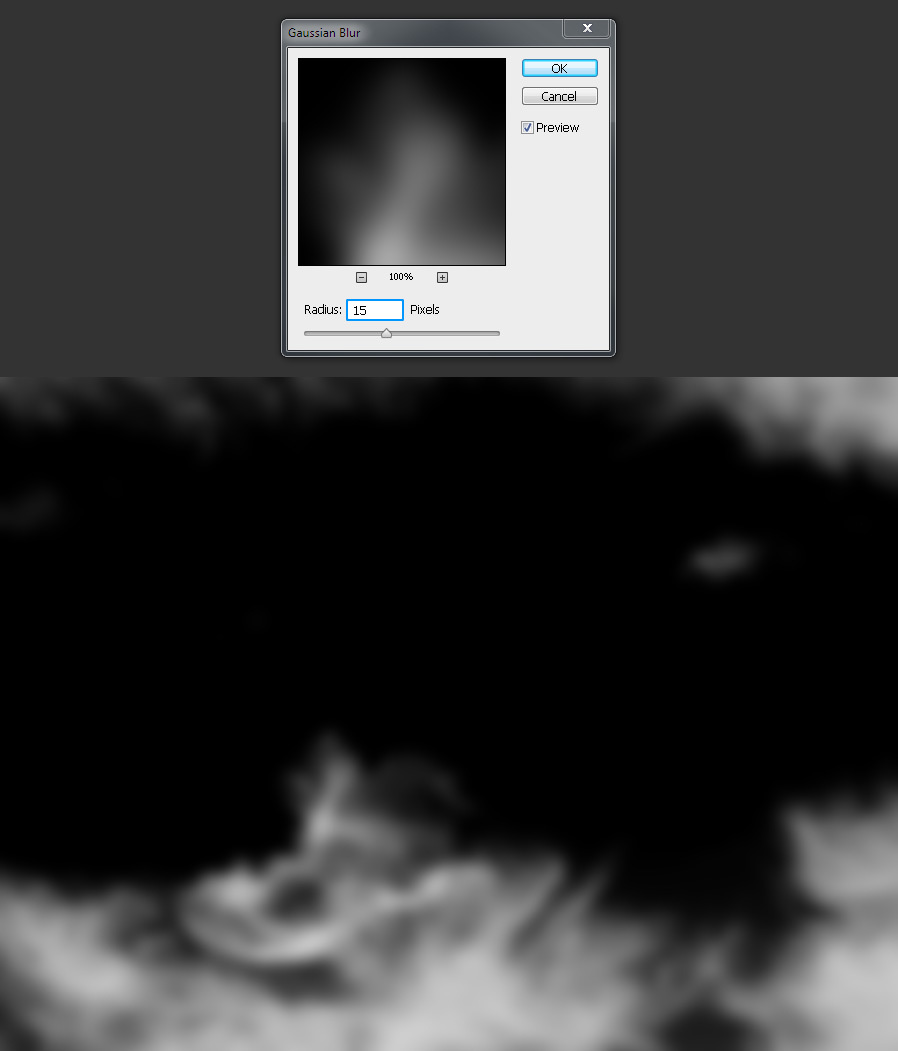
Step 4
Go to Filter > Blur > Gaussian Blur. Set the Radius to 15 and click OK. Note: you may need to change this value a bit according to your image size.
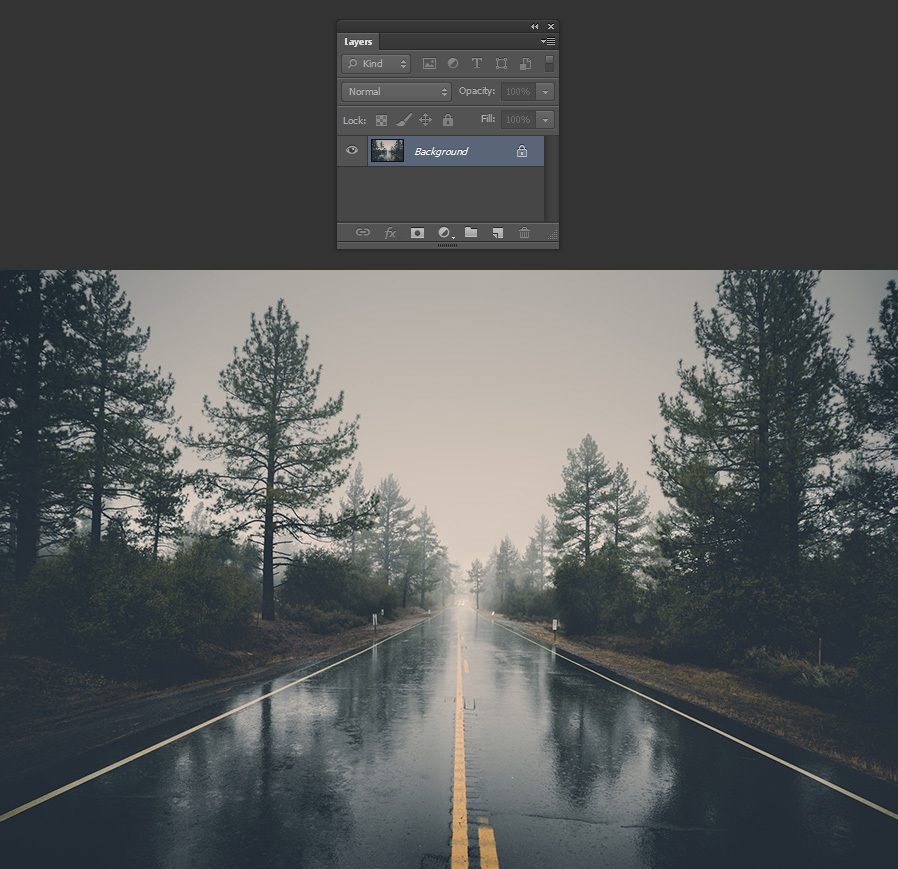
Step 5
Open the image you want to add the fog in Photoshop.
Step 6
Go back to the cloudy sky image and go to Layer > Duplicate Layer. Name the layer that will be duplicated as “Fog Overlay”, under “Destination” select your opened image where you will add the fog overlay and click OK.

Step 7
Back to your image document you will find the cloudy sky image modified in a new layer and named as "Fog Overlay".
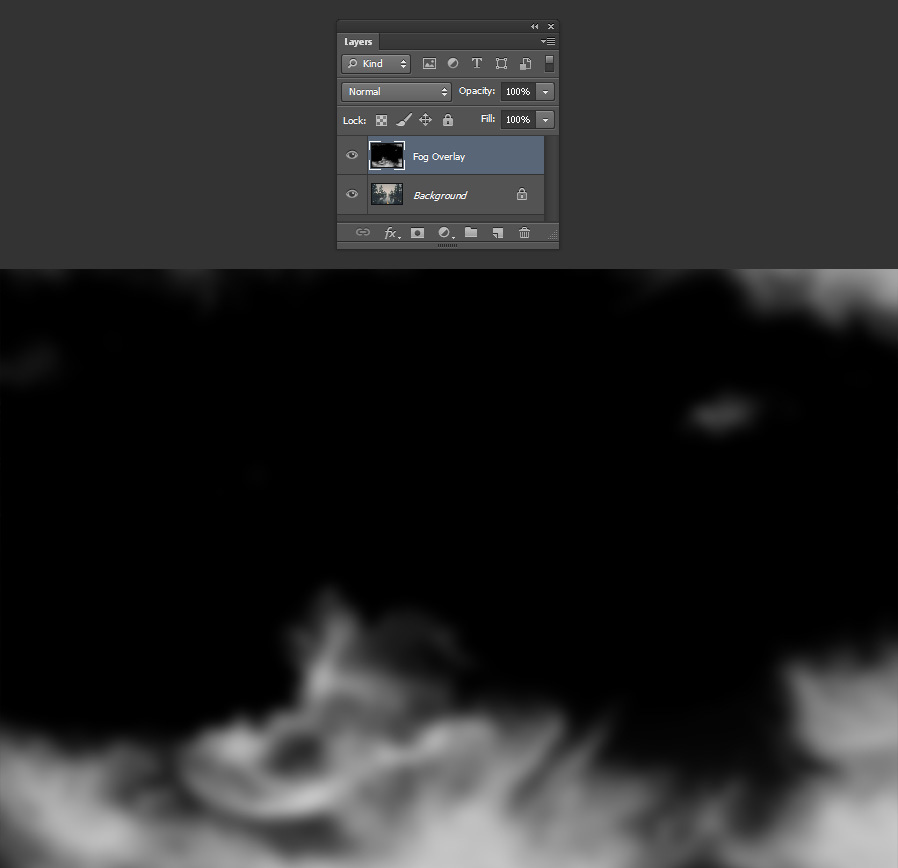
Step 8
Resize the new "Fog Overlay" layer if needed and set the blend mode to “Screen”.
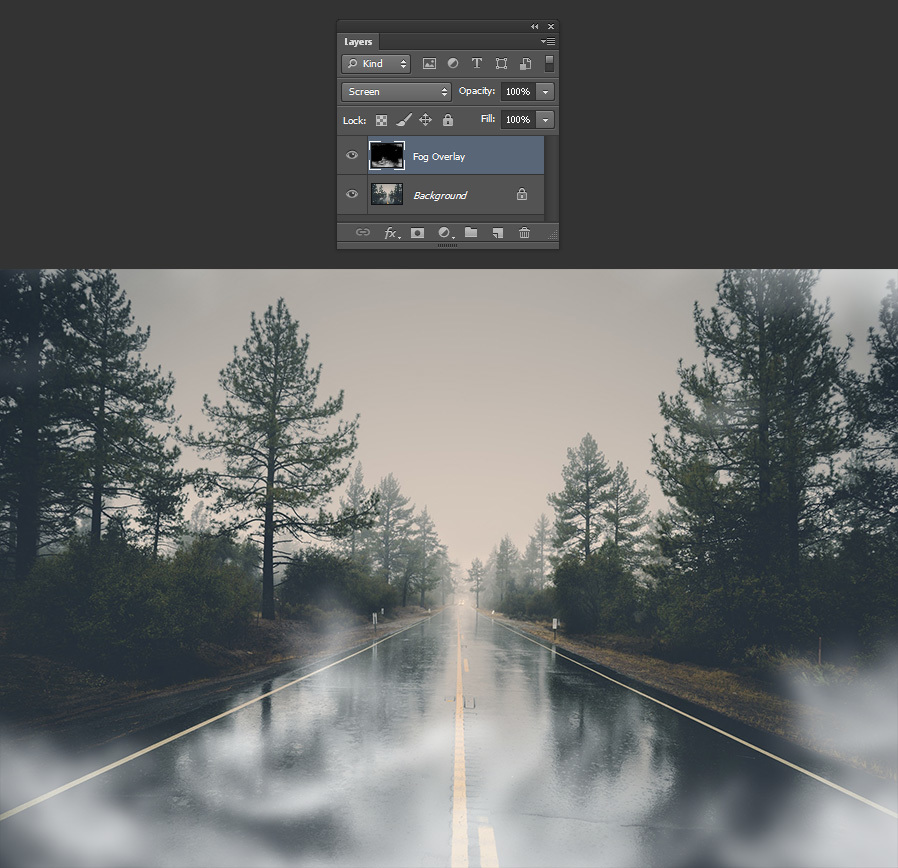
Step 9
Hold the “Alt” key on your keyboard and click on the “Add Layer Mas
Want More?
Get curated design picks delivered straight to your inbox