How to Create a Detailed Audio Rotary Knob Control in Photoshop & Illustrator

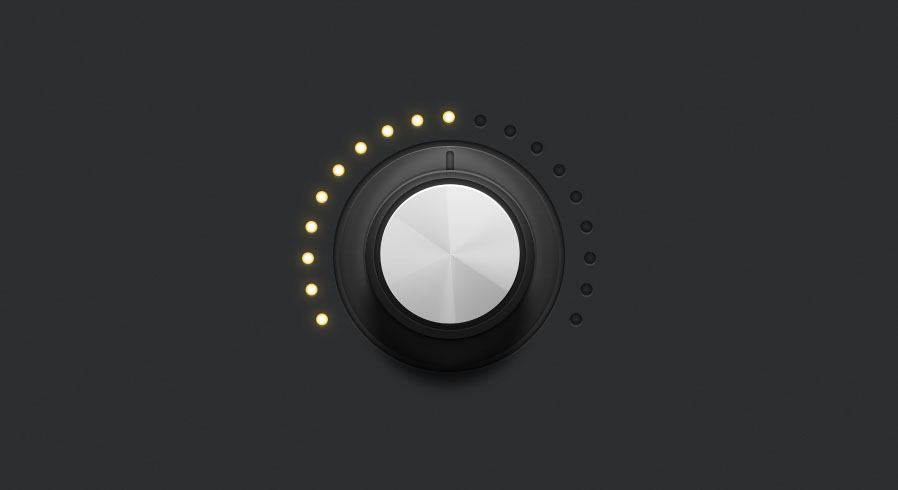
Preview of what we will be creating
Step 1
The first step is to create a new document in Photoshop and fill the background layer with a dark solid colour (#2e2f31).
Step 2
Next draw a circle in the center of document using the Oval tool and holding the Shift key to constrain proportions. This shape will act as the base of our knob, fill the circle with a dark colour only slightly lighter than the background (#303030).
Step 3
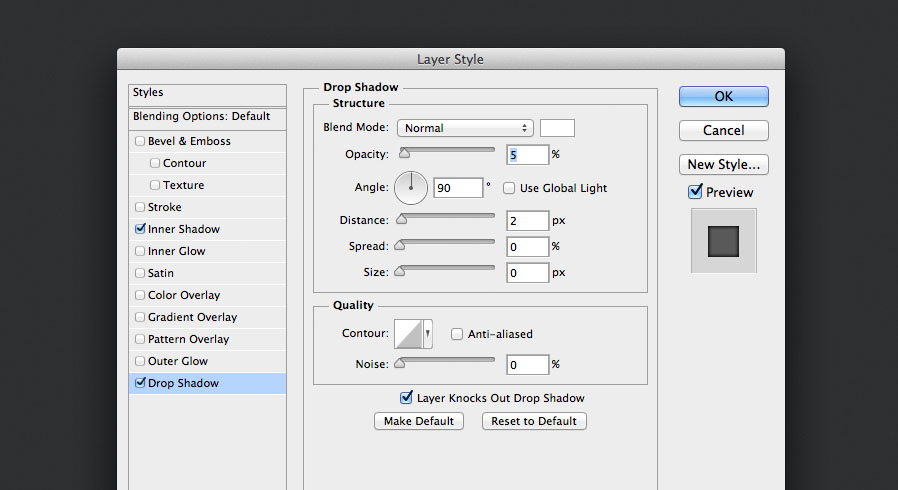
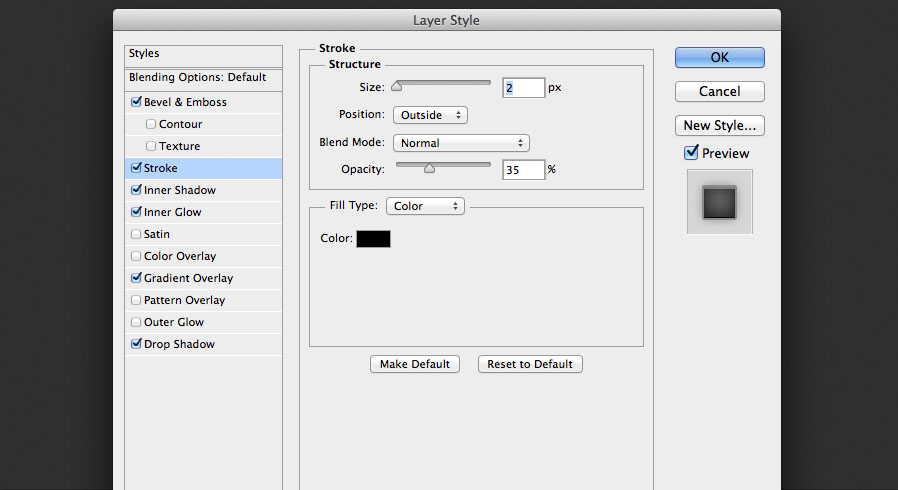
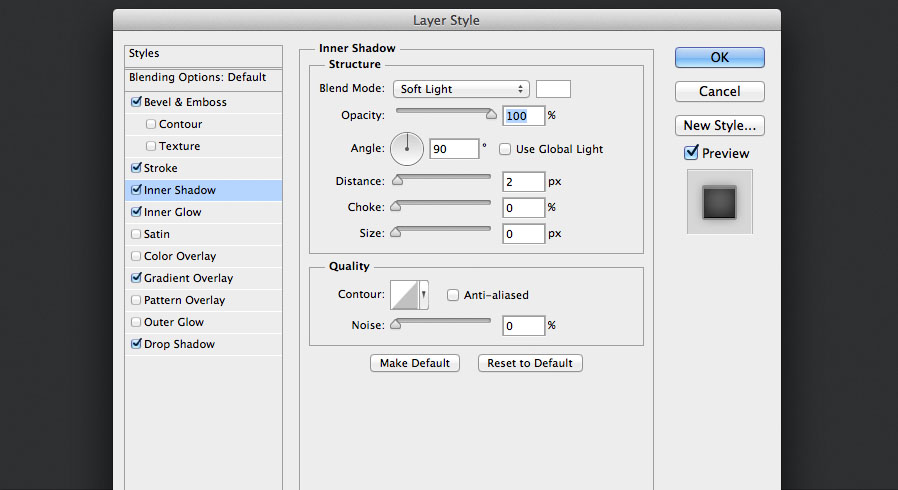
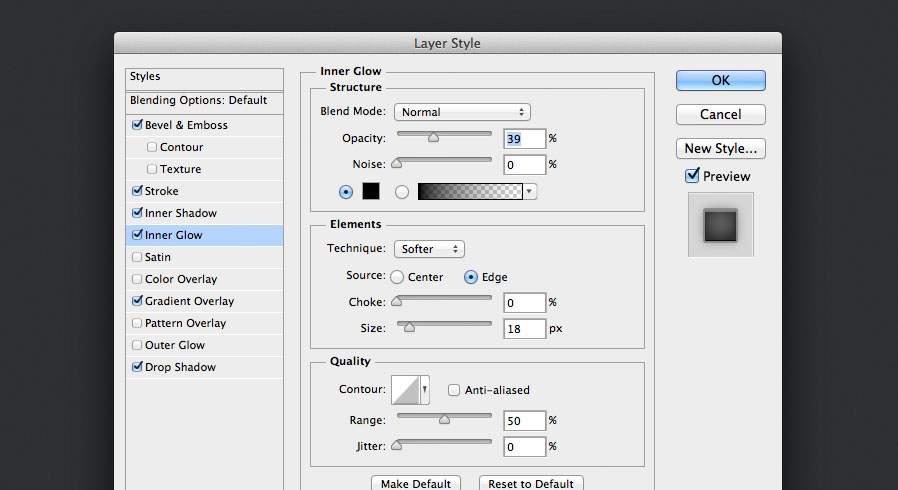
To make the base appear to be slightly indented we apply some layer styles: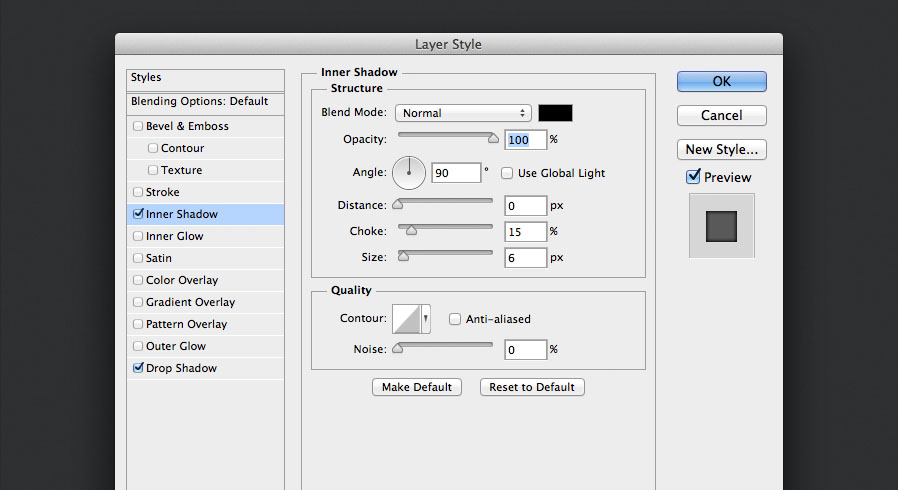
Step 4
Draw another circle in the middle of the base layer about 85% smaller, and set the fill colour to the same as the base layer. This will be the main shape of the knob.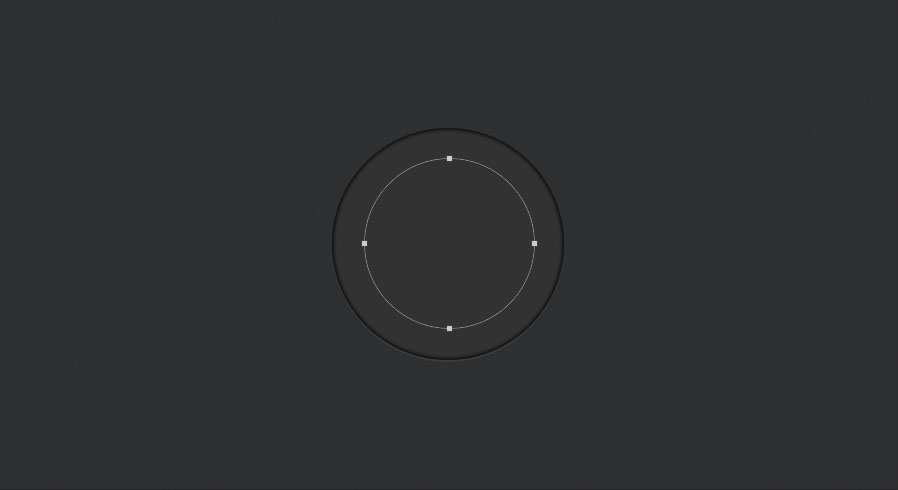
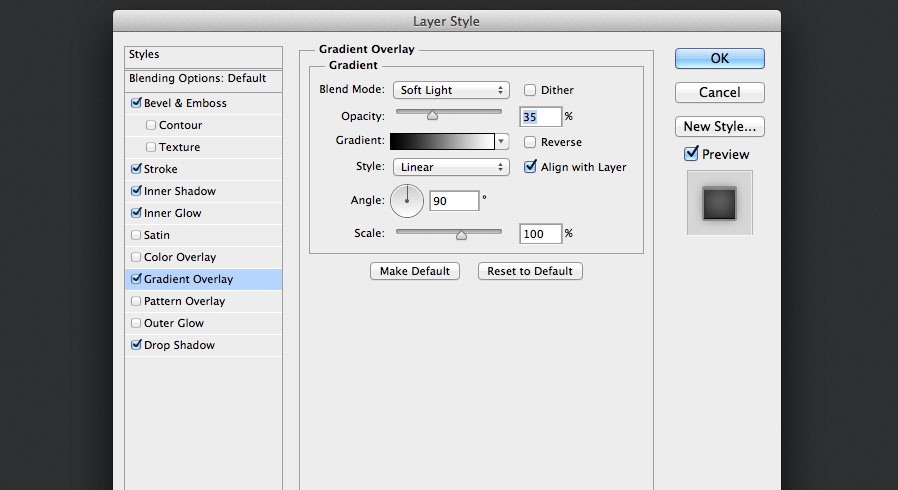
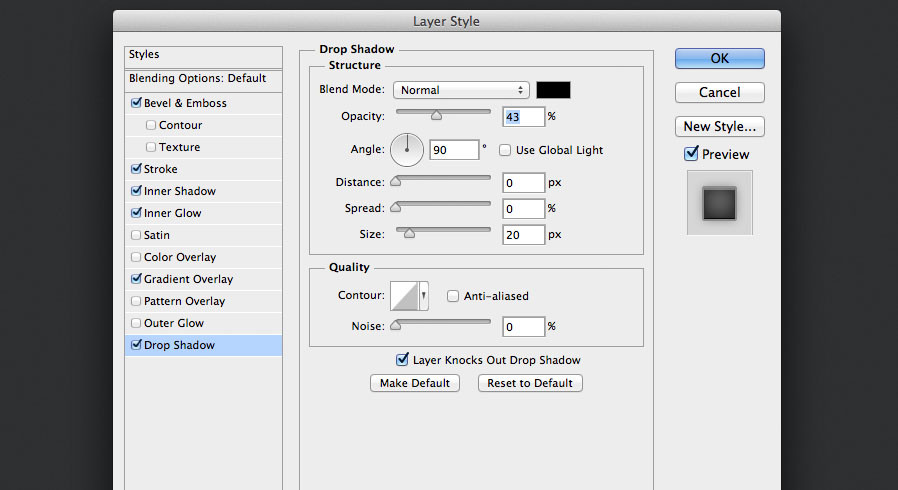
Step 5
Apply the following layer styles to the new shape to give it some depth: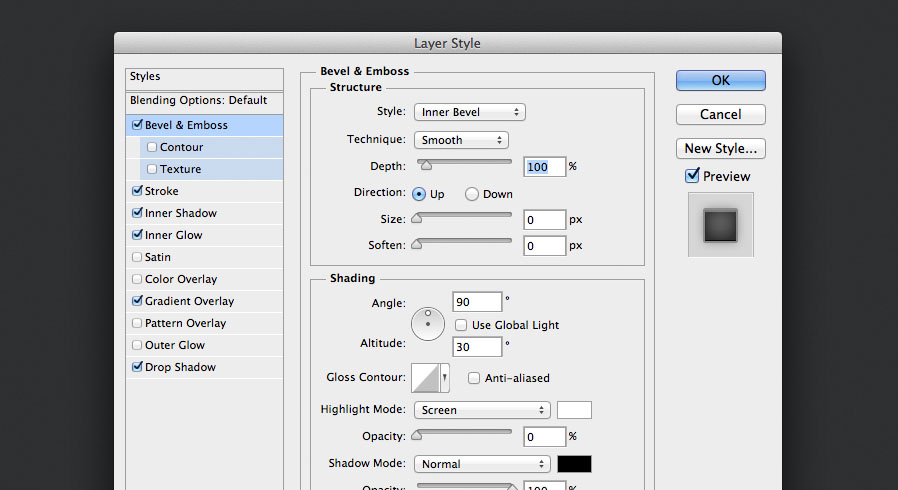
 You should now have something that looks like this:

Step 6
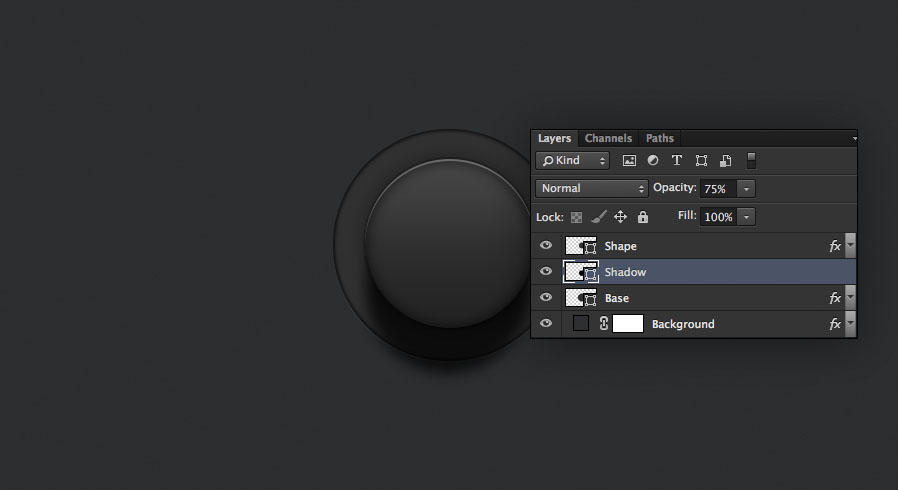
To give the top shape a sense of depth, it also needs a large shadow. Rather than use the Drop Shadow layer style, we can create our own shadow manually by duplicating the shape layer, moving it down one layer to be between the base and top shape and positioning it about 40 pixels lower.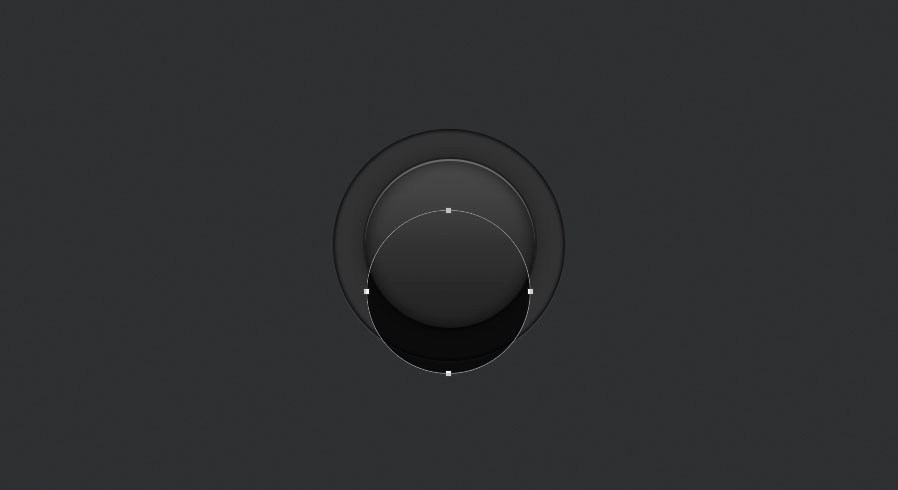
Step 7
Use the Feather option in the Properties panel to blur the edges of the shadow layer, and set the opacity to about 75%.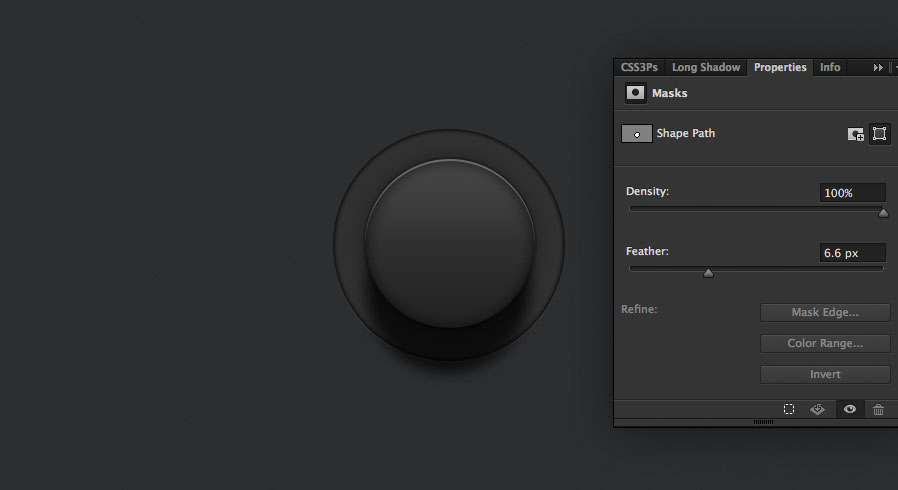
Step 8
Okay, let's add another circle layer between the base layer and shadow layer, about 5% smaller than the base layer.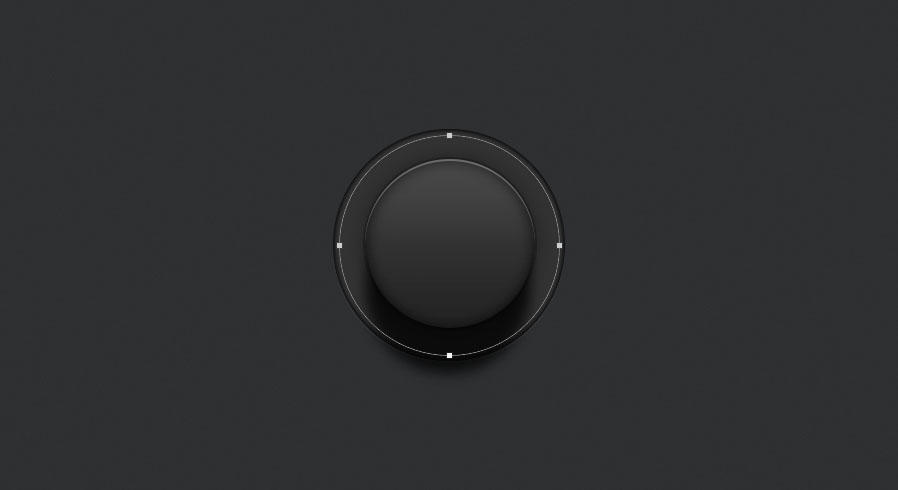
Step 9
Time for some more layer styles on our new circle:
Want More?
Get curated design picks delivered straight to your inbox